make preferable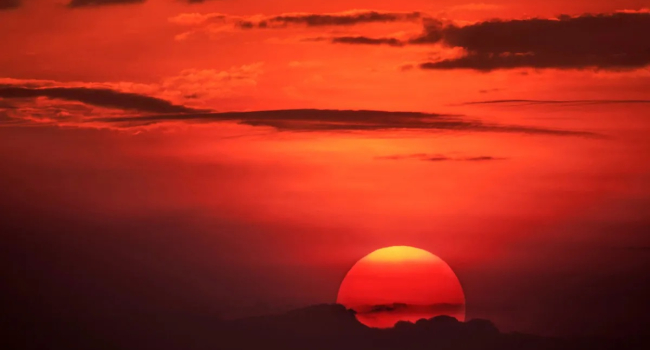
The Sun—our Solar System's central star—is rarely photographed in detail due to its intense brightness. However, with the right equipment and techniques, it’s possible to capture its dynamic features, including sunspots, prominences, and other ever-changing structures. Solar expert Dr. Ryan French, in an article for Space.com, shares essential recommendations for safely photographing the Sun using cameras, lenses, telescopes, and specialized filters—without risking your eyes or damaging your gear.
The Importance of Safety
Photographing the Sun requires strict safety precautions, as direct observation can cause irreversible eye damage. Dr. French stresses:
- Never look directly at the Sun.
- Never use an optical viewfinder when aiming a camera at the Sun.
Instead, always:
- Use certified solar glasses, like those made for solar eclipses, for safe visual observation.
- Use your camera’s digital display for composition and focus.
Note that many photographic filters are not safe for direct eye use—always verify their specifications. Detailed safety guidance is available in solar observation manuals.
Equipment and Camera Settings
Cameras and Lenses
Even high-end astrophotography cameras can’t capture solar details without specialized gear. The key accessory is a neutral density (ND) filter designed specifically for solar photography. It reduces light intensity, allowing surface details to be recorded.
- Filter Types: Solar ND filters produce either white/gray or yellow/orange images depending on design.
- Focal Length: Use at least a 200mm telephoto lens. Longer focal lengths (400mm, 600mm) magnify the Sun more, revealing greater detail. For instance, with a full-frame Nikon D850, a 200mm lens shows the Sun as a small dot, whereas a 600mm lens gives a much larger view.
Recommended Settings
Dr. French advises experimenting with the following:
- Aperture Priority Mode: Set aperture to f/5.6–f/8 for optimal sharpness.
- Shutter Speed: Use fast speeds like 1/1000s to reduce blur without a tripod. On a sturdy tripod, you can go slower (e.g., 1/250s) to lower noise.
- ISO: Use the lowest ISO that provides a clear image—typically ISO 100–400.
- Timer or Remote Shutter: Minimize shake using a 10-second timer or remote control.
Settings may vary based on your camera, lens, and conditions, so testing is essential.
Photographing with a Telescope
For higher resolution, a telescope with proper solar filters is ideal. Cameras can attach directly to telescopes or via dedicated eyepiece cameras, as in deep-sky astrophotography.
Solar Layers
- Photosphere: The Sun’s visible surface (~5500°C), source of visible light.
- Chromosphere: Above the photosphere (~4000°C), less dense, visible in specific wavelengths.
- Corona: The Sun’s outer atmosphere (~1 million °C), visible during total solar eclipses.
Filter Types
- White Light: Blocks over 99.9% of light—used to photograph the photosphere. Ideal for sunspots and granulation. Telescopes with large apertures should also use UV/IR cut filters to prevent overheating.
- H-alpha (Hydrogen-alpha): Filters light at 656.28 nm (red spectrum), revealing the chromosphere. Shows prominences, flares, and filaments. Available in wideband (1 Å) or narrowband (0.5 Å), with tunable options.
- Ca K (Calcium K-line): Filters at 393.4 nm (blue spectrum), highlighting chromospheric magnetic structures and calcium activity.
Specialized Solar Telescopes
Instruments like the Coronado PST have built-in H-alpha filters for simplified use. While more expensive, they are optimized for solar viewing and require no external filters. Never remove the eyepiece from a finder scope on a standard telescope—it can be dangerous to your eyes.
What You Can Photograph
- White Light: Sunspots, surface granulation, faculae.
- H-alpha: Prominences, solar flares, filaments in the chromosphere.
- Ca K: Chromospheric magnetic activity and high-energy regions.
Each filter reveals different aspects of the Sun. H-alpha shows vivid prominences, while Ca K emphasizes magnetic field structures related to solar activity.
Tips and Warnings
- Inspect Filters Carefully: Ensure your solar filter is certified (e.g., ISO 12312-2). Damaged filters can leak dangerous light.
- Prevent Overheating: Avoid extended exposure without UV/IR blocking filters, especially with large telescopes.
- Ensure Stability: Use a sturdy tripod or solar-tracking equatorial mount for sharp images.
- Practice and Experiment: Adjust filters and settings for your gear and conditions.
Conclusion
Photographing the Sun is a fascinating pursuit that captures the dynamic behavior of our star—sunspots, prominences, flares, and more. With certified filters (white light, H-alpha, Ca K), a proper lens or solar telescope, and careful technique, you can take detailed, safe images of solar activity. Dr. Ryan French’s guidance emphasizes the importance of using the right gear, safe practices, and patience. Whether capturing the photosphere or chromosphere, solar photography offers a rewarding window into the powerful forces shaping our cosmic neighborhood.